Grow Orchid From Stem Cuttings
Have you always wanted to know how to grow orchid plants from stem? Growing orchids is very easy, but it takes a little work at the start. If you can learn the basics, growing orchids will be a breeze for you. Orchids originated in Asia, and many of the exotic orchid species are still there. Here are some easy-to-grow tips that will help you in your quest to learn how to grow orchids.
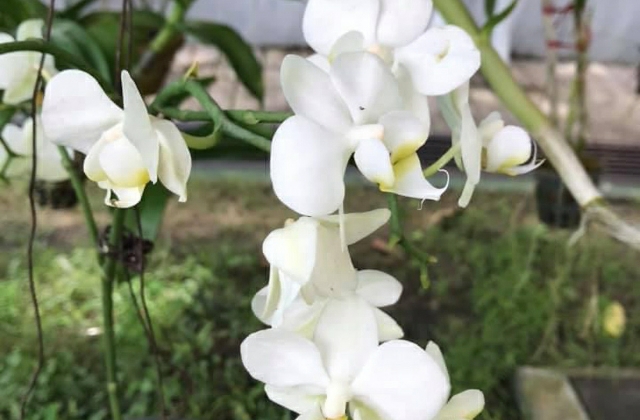
Orchids come in many shapes and sizes, which is why orchids are so beautiful. They are also very sensitive to certain conditions, so they need a lot of care. Growing orchids can range from a couple of feet tall to trees the size of a small city block. However, orchids are most popular indoor/outdoors plants because they are so easy to grow. You can easily plant an orchid at home without too much trouble. If you want to learn how to grow orchid plants from stem, here are some basic tips:
If you have orchids that do not get the proper amount of sunlight or water, you should try giving them a partially shade when you’re not planting them. This is accomplished by cutting the stem cuttings short. The stem cuttings will remain green, but you can place them under some nearby light source for a short time. When you are ready to plant the orchid plants, you should dig them up. Make sure you wear a mask and gloves, as this will prevent any chemicals from getting into your orchid plants or directly into your lungs.
Once you’ve gotten your orchid plants planted and your mother plant has rooted and started growing roots, you will notice a difference in coloration. The flowers will be more vibrant and will have a look that is closer to that of a violet flower. Your orchids will also have “stringy” growths at the top of the stems. This is called gon na. The orchid plant actually has many types of gon na.
There are several different kinds of gon na. One is hibiscus and another is plumeria. Hibiscus blossoms have tiny flowers that have numerous stamens. Plungea, on the other hand, have large, tapered flowers with one-pointed petals. Both of these types of flower have gone to that are made up of a stringy type of material. If you use water and light correctly, you will notice that the color will stay consistent between the orchid and its stem cuttings.
Now, if you want to use water only, then the best way to accomplish this is to use a pot that has a shallow drainage hole at the bottom. You will also want to place the pot in direct sunlight for the first couple weeks. The orchid will need light to survive but if it gets too much it could drown. For the first few weeks, just use medium-duty watering. If you decide to use hydroponics systems when your orchid starts growing or maturing, then you should move your orchid plant to a deeper container of the proper drainage type.
After your orchid plant has roots down to the strainer, then you can go ahead and feed it regularly. You will need to do this every two weeks but you don’t have to use a very strong fertilizer. You can start with a weak solution but after you see how your orchids to grow, you can adjust the dosage until you see a big difference in the growth. There are many fertilizers on the market that are specifically intended for growing orchids. My favorite brand is called “Euphorbia”. This one seems to work better than most others.
When you have your orchid stem cuttings, you should rinse them off completely and hang them upside down in a dark place like a window box. They will grow quite well this way. When your orchids grow too big for the pot you started them out in, then you can move them to a bigger container. I like to use half water and nutrients solution. I let mine go for about 3 weeks and it’s pretty large now. If you follow these simple steps you can grow your own orchids easily and inexpensively.