Micro Greens In A Jar – Preparing For The Outside Garden
Have you ever tried growing microgreens in jar? If not, go online and do a search. You will find that there are many different recipes that include microgreens. Microgreens, as opposed to other greens, can be planted directly into the garden or even indoors. They are low maintenance and grow very well, provided that you know how to plant them properly. There are many advantages to growing your own vegetables in jars.
The first advantage that growing microgreens in jar has is that it is low cost. You can purchase fresh leaves and have them eaten within 24 hours of harvesting them. This is a major benefit because it means you do not have to invest in high-priced pre-made green salads. When eating microgreens in jar, all you have to do is dip them into a special dressing and eat them. This saves you money and time, making it an ideal way to enjoy a fresh salad on a hot day.
Another advantage is that you do not need to buy a large planting tray or soil. Microgreens seeds are small and when they are planted, they will spread out very quickly. If you do not have an ample surface to plant your microgreens, then planting them directly into the soil is the best option. Just remember to compact the soil as you go. Your intention with planting is to create pockets of air between the roots so they can get the oxygen they need to thrive.
Another great advantage is that you can choose which type of microgreen seed you would like to use. If you like a crisp, fresh taste in your salads, then go for the shelled variety of micro green seeds. For a softer taste, go for the un-shelled seeds. These also germinate faster than some of the shelled varieties.
If you are considering planting these tiny seeds indoors, then be sure to select ones that germinate easily in a shallow container. There are many brands available that are specifically intended for growing microgreens. Just check the package for the right growing medium. Keep in mind, however, that no matter how hard you try, microgreens will not germinate if the growing medium is too loose or porous. They require proper nutrition and proper growing conditions.
You may wonder how the microgreens in jar can provide good nutrition to your sprouts. It is important to note that microgreens contain essential vitamins and minerals that cater to the needs of plants during their growing stage. They provide the nutrition plants need to make it through their growing phase. This includes vitamins A, B, C and E as well as folic acid. Folic acid is an important element for ensuring a healthy baby as it helps prevent defects on the brain and spinal cord.
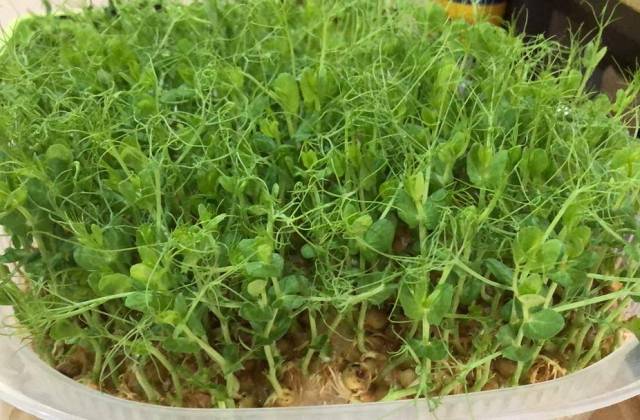
When you are ready to transfer the microgreens from their jars to your garden, it is best to do so in a plastic tray. This allows you to control the amount of water used in the growing process. Another benefit of using these trays is that you can spread the seedlings evenly throughout the ground without worrying about their location. If the trays are filled with loosely packed soil, it makes it easy for seedlings to fall out of position when you transfer them to the garden. This can result in uneven growing conditions which can be disastrous for sprouts.
The last step in preparing microgreens in jar for planting outdoors is to mix them with the correct amount of soil. You can determine this by using a soil meter. The ideal mix for growing microgreens should consist of coarse sand, perlite, and peat moss. Once this mixture is combined, it will be time for you to plant the seeds of your choice.